
Destructive Magnetism
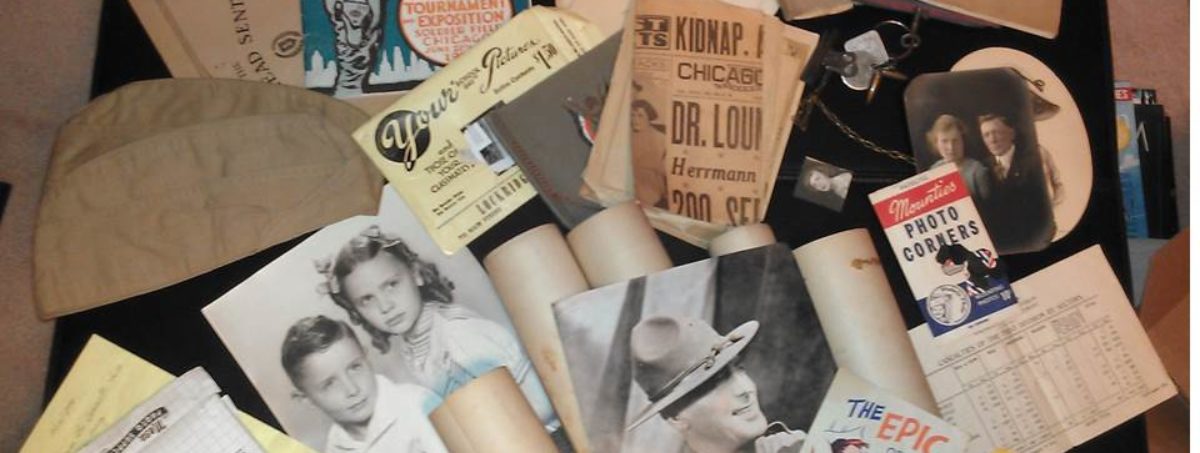
The idea, or rather the need, for this blog came from a recent experience at a local home show. My business, TimeSorters, LLC (timesorters.com), had a booth to share our services and the table was filled with examples of the kind of items we all have in our home history collections. You know what I mean: scattered old photos, musty books shedding their covers, a hat and white gloves (the kind your great-aunt or grandmother would have worn to church), etc. But by far the one item that gained the most attention, and drew the strongest connection to those visiting our display, was the so-called “Magnetic” photo album.
The Culprit

Near as I can determine, “Magnetic” photo albums came into being sometime in the early 1970s. As most people know by now, despite their given name they aren’t really magnetic. The catchy designation was given to these albums because they allowed photos to be quickly positioned in more random and artistic layouts on a page unlike pocket-page albums, and, at least initially, photos could be lifted and re-positioned multiple times just like a photo on a magnet board. Convenient, right? Of course!

Add to it the groovy bright designs on the cover, or even better the cute animal picture, and it was a no-brainer to grab these by the dozens! To enhance the opportunity, it wasn’t long before cheaper versions were coming from overseas markets making the incredible convenience ridiculously affordable. And then time – like the buzz-kill it can be – interfered.
Bad Advice
In preparing to write this blog edition, I came across a fascinating article from the Chicago Tribune titled Albums Can Have Negative Impact on Cherished Photos.(Vettel, 1985) The question submitted by a reader asked the author, presumably an expert on photography, about the damage “magnetic” photo albums could have on her photos. It seems that friends had warned her off of using the convenient, and extremely popular, album style and wanted – hope against hope – to be dissuaded from rehousing her collection. What made this article so fascinating is that it was written over 30 years ago in 1985! What’s even better, is that the advice was given after this staple of family history collections had already been in use for 10-15 years. The advice was not only completely off the mark – it was incredibly snarky in tone.
The author, however, should not be wholly ridiculed for his lack of farsightedness. After all, how many times have we each prognosticated on an issue or point of “fact” and been completely wrong? Ultimately, time is the only way to tell what will really happen in the future.
Capturing the photo album “as it is” is a critical step to retaining the integrity of the story that the album intended to tell.
That said, I want to share how entirely and confidently wrong the photo expert was as a word of warning to those of us who believe we know the future. Following is his response to two explicit warnings about the adhesives that “eat slowly at the backs of the photos, making them all but impossible to remove safely” and the “chemicals from the plastic sheet could attack the front of the picture, destroying the image”:
He confidently states,
“Neither is particularly likely to happen. First, not all photo albums contain these chemicals. Second, the chemicals, assuming any are present, do their best work in closed environments. They would dissipate quickly in a well-ventilated, temperature-stable room.

In other words, where you keep the albums is more critical than any corrosive agents that may be lurking about. … A photo`s main enemies are still heat and moisture; eliminate those and your photos should be in good shape.”
[WRONG! Both environment AND what they are kept in are important!]
He hedges his bet a bit and continues:
“I`m not saying it can`t happen. … According to Kodak`s spokesperson, any long-term damage created by photo albums is more a matter of speculation than anything else. …many of today`s products haven`t been around long enough to let us do anything but guess at what will happen 20 years down the road.”

And a scant year and a half after the 1985 article, a New York Times piece (Fading Memories: Albums Damage Photos (Collins, 1987)) accurately confirms what has been denied in the past. And now, nearly FIFTY years down the road, voilà! the feared significant damage HAS indeed happened.
So, what’s next?
Fortunately, or unfortunately, everyone at our booth knew all too well that these albums were trouble. Although initially blinded by the convenience and “bling” of the “new” technology, we know better now. You MUST remove your photos as soon as possible from these types of albums.
This article tells you HOW to safely remove your photos from magnetic photo albums.
To help those of us who still hold these album relics from the past as part of our collections, following are the materials and techniques you need to know to successfully remove your precious photos from their seemingly permanent grasp.
3 Things to do to prepare:
- Capture the album as it is. Scan each page of the album, and the cover too if you like the cute animal picture. Capturing the photo album “as it is” is a critical step to retaining the integrity of the story that the album intended to tell. After all, we don’t usually just throw photos in an album. Instead, we share pictures that represent specific and often notable events from our lives. If a photo didn’t matter to someone initially it would not be in the album to begin with. Having a digital copy is also a handy thing to have should any of the following attempts result in damage to a photo. So scan what you have to start with and then try some of these techniques on less desirable albums/images before going after the irreplaceable ones.
- Wash and dry your hands and put on nitrile gloves. If you don’t have nitrile gloves, be sure to handle photos by their edges. White cotton

Floss and micro-spatula are two of the basic tools for removing photos from sticky pages museum/archives gloves are OK, but they aren’t ideal since they can catch on the photo edge and cause, or increase, tearing.
- Gather your tools. Items needed to help break the bond of the damaging glue are:
- micro-spatulas (available at many science/lab suppliers and archival materials places such as Hollinger Metal Edge and TALAS)
- dental floss (available at any pharmacy or grocery store) – NO FLAVORS and Teflon or at least waxless variety only
- hair dryer with a warm/low setting option
5 Techniques to removing photos:
- Remove the plastic covering the page. This often comes off as one sheet folded across the front and back of a page. Discard the plastic page.
- Give the page a gentle bend. The first, and easiest option is to see if the images will release from the page with a little encouragement. Don’t fold the page, but instead have one hand on the edge of the page and your other hand supporting the photos. Bend the page SLOWLY AND GENTLY in both directions. You should hear some crackling noise that often is the adhesive releasing the photo. Many times, this is all that is needed and photos will fall from the page. If these are priceless images be extremely gentle and bend very little or use the next options.
- Other options to break the attachment. Using the micro-spatula, or dental floss wrapped between the fingers of two hands (just as if you’re flossing your teeth), find a photo corner that may have lifted a bit. Gently push down where the photo meets the adhesive to break the bond between the two. YOU DON’T WANT TO LIFT – but instead move the spatula or floss in a downward motion (floss gently side-to-side) to avoid separating the image from the paper backing. WARNING: Dental floss used this way can cut both your fingers and your picture. Move slowly and use light pressure or damage to the photo and your fingers, not to mention bleeding, will likely occur.
- When all else fails – use hot air. Sometimes, using the above efforts, you can get all but a single spot to come loose from the page. Don’t force it. It can mean that the glue has literally bonded with the paper and forcing it will only result in damaging your photo. Instead, use your hair dryer. ONLY IF THERE ARE NO PHOTOS ON THE PAGE BEHIND THE STUCK IMAGE, hold the hair dryer about 4-6 inches from the back of the stuck image and turn it on low. Using a continuous back and forth motion, warm the page. The temperature can be checked by placing your free hand on the stuck image – place a cloth between your hand and the photo if you aren’t wearing nitrile gloves. It should be warm, NOT HOT. As soon as it feels warm, turn off the hair dryer and try the spatula or floss again. Repeat as necessary to remove the image BEING CAREFUL NOT TO OVERHEAT THE PHOTO AS THIS WILL ALSO CAUSE PERMANENT DAMAGE.
- Cut it out. At the very worst of situations I have had to simply cut the image out of the album to get a better angle in removing it from the backing. If you absolutely cannot remove the back, scan the image and print a new copy. If it is a treasured item, keep the backing in place, but be sure you isolate this image from others as the contaminated backing is still in place.
Photo Storage Alternatives
Once photos are removed from the album, put them in a place that time, and chemistry, have proven to be safe: a photo box or plastic sleeves. HOWEVER, whether box or sleeve, it should be archival quality.

The box needs to be acid- AND lignin-free and the sleeves of a safe plastic, such as polypropylene, polyethylene, polyester or Mylar. Several companies provide these materials including: Hollinger Metal Edge; University Products; and Gaylord Archival. If your memories are worth saving, they are worth the extra costs for keeping them safe.
If you cherish the memories more than the original photos, consider scanning the images and then keep them digitally; dispose of the originals through donation, dispersion among family or friends, or throw them away. In most cases, photographs are NOT recyclable. Check with your local recycling company before placing any photographs or negatives into your recycling bin.
What if you don’t have the funds right now for optimal storage? Do it in stages that will fit your budget. Or, as The New York Times article notes, keep your photos in a regular shoe box as it’s a better option than keeping them in damaging “magnetic” photo albums. It isn’t a good permanent solution, but it will be much less destructive than where they are now.
For additional help, or questions, feel free to contact us at timesorters.com